
The process
Discover the journey of the art form
My inspiration is sparked by wonder and curiosity.
It simply requires me to ask myself, “I wonder if…” and a deep curiosity and attachment to a particular flower takes root.
Every time I think I know the flower, it presents me with something unexpected. That unexpected something could be an oddly positioned petal, or a uniquely twisted stem, but usually, it has to do with the way the colours sit on a petal or the way the flower as a whole seems to have the potential to move and dance. Those two characteristics speak to me in volumes and I feel an incredible urge to explore it.
After finding inspiration,
the exploration begins…
01
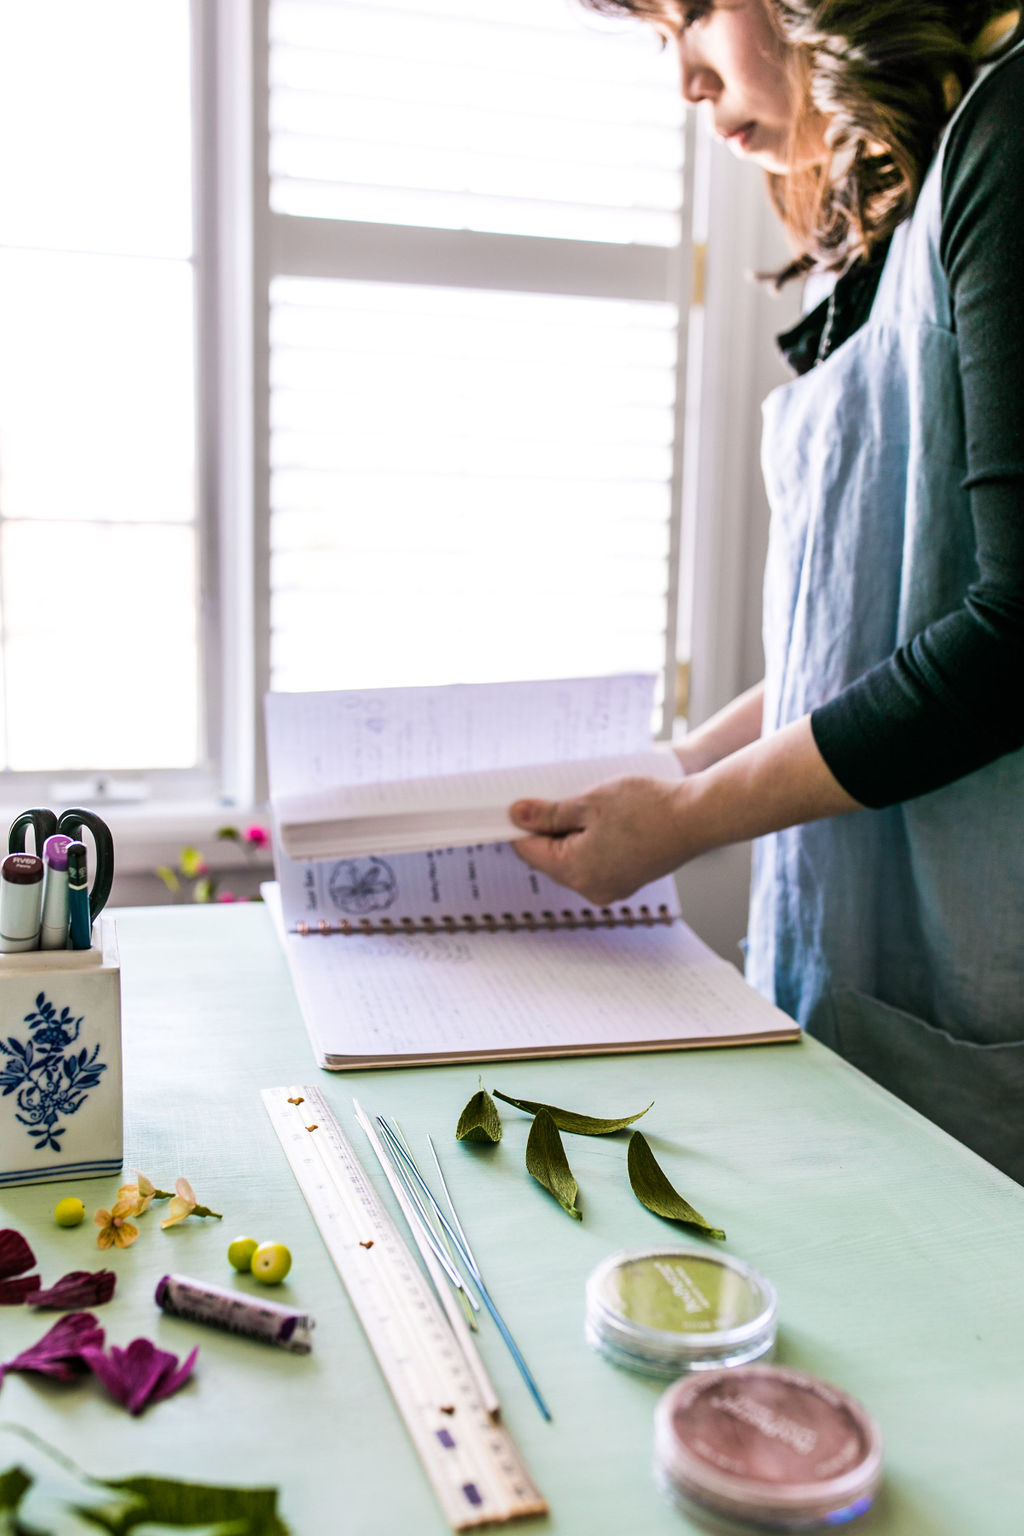
Research
I want to really get to know the flower intimately so I look for images of the flower from books, photos of flowers I have taken, and if the season is right, I try to have a fresh version sitting in front of me. This collection of images gives me clues about the flower’s multi-faceted personality. I look for images that show the anatomy of the flower from various angles, images of unique colour combinations that excite me, and various versions of the same flower at different stages of maturity to get a sense of how it presents itself to the world.
02
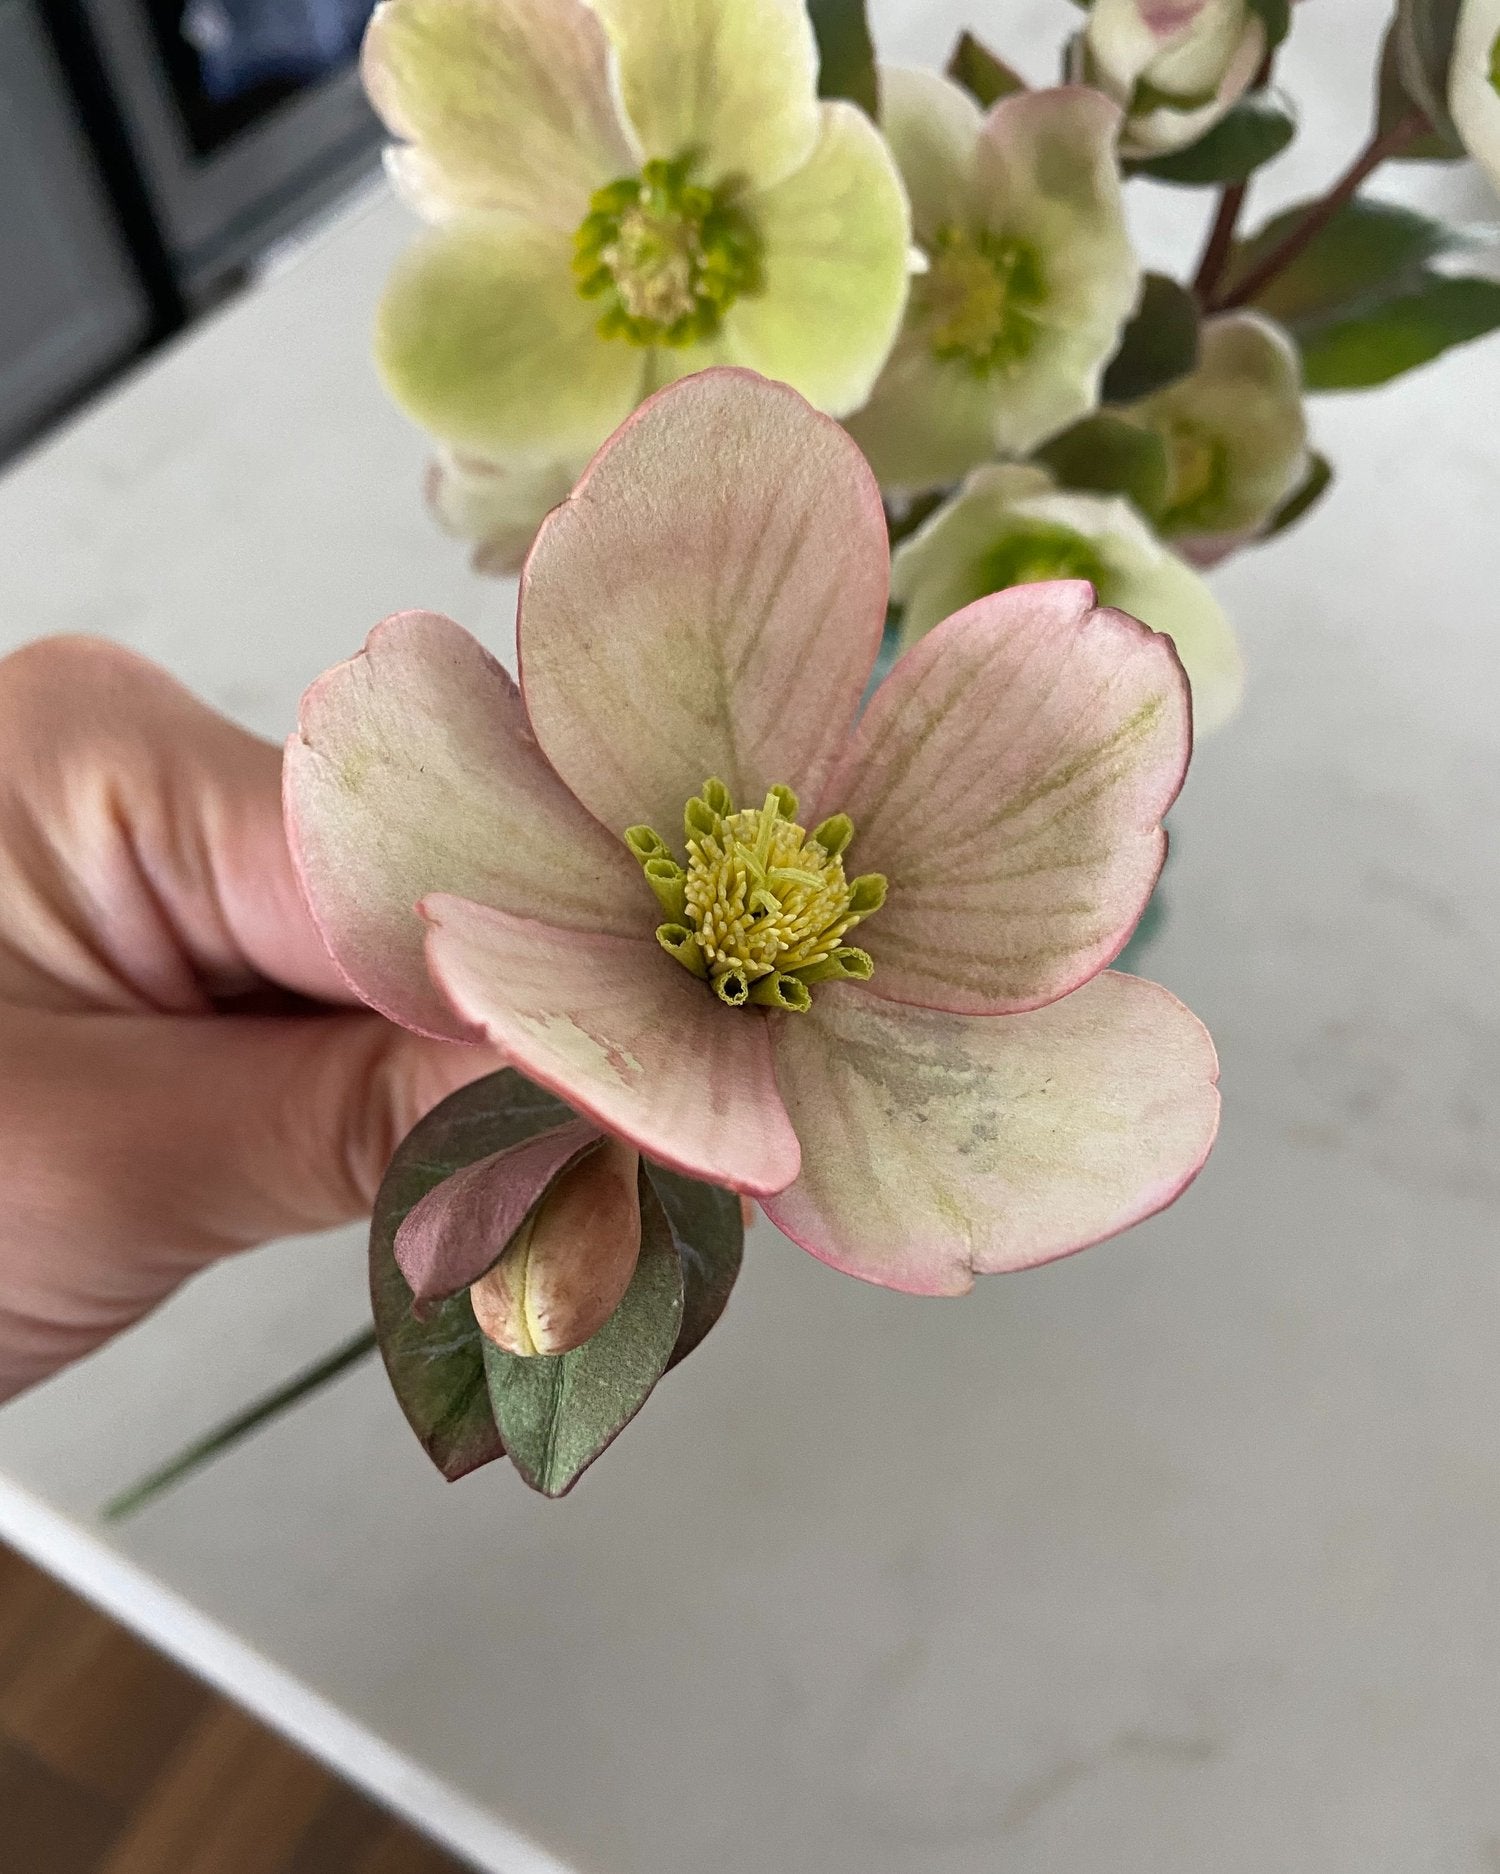
Prototyping
Next, I create the foundation and different parts of the floral structure by experimenting with different weights and types of paper - from crepe to watercolour to card. The goal is to create a prototype that mimics the shape of the flower in a way that nature intended and with the energy and movement I want it to express. Depending on the project, it can take one or two attempts or it can take months or years of experimentation before I’m completely satisfied.
03
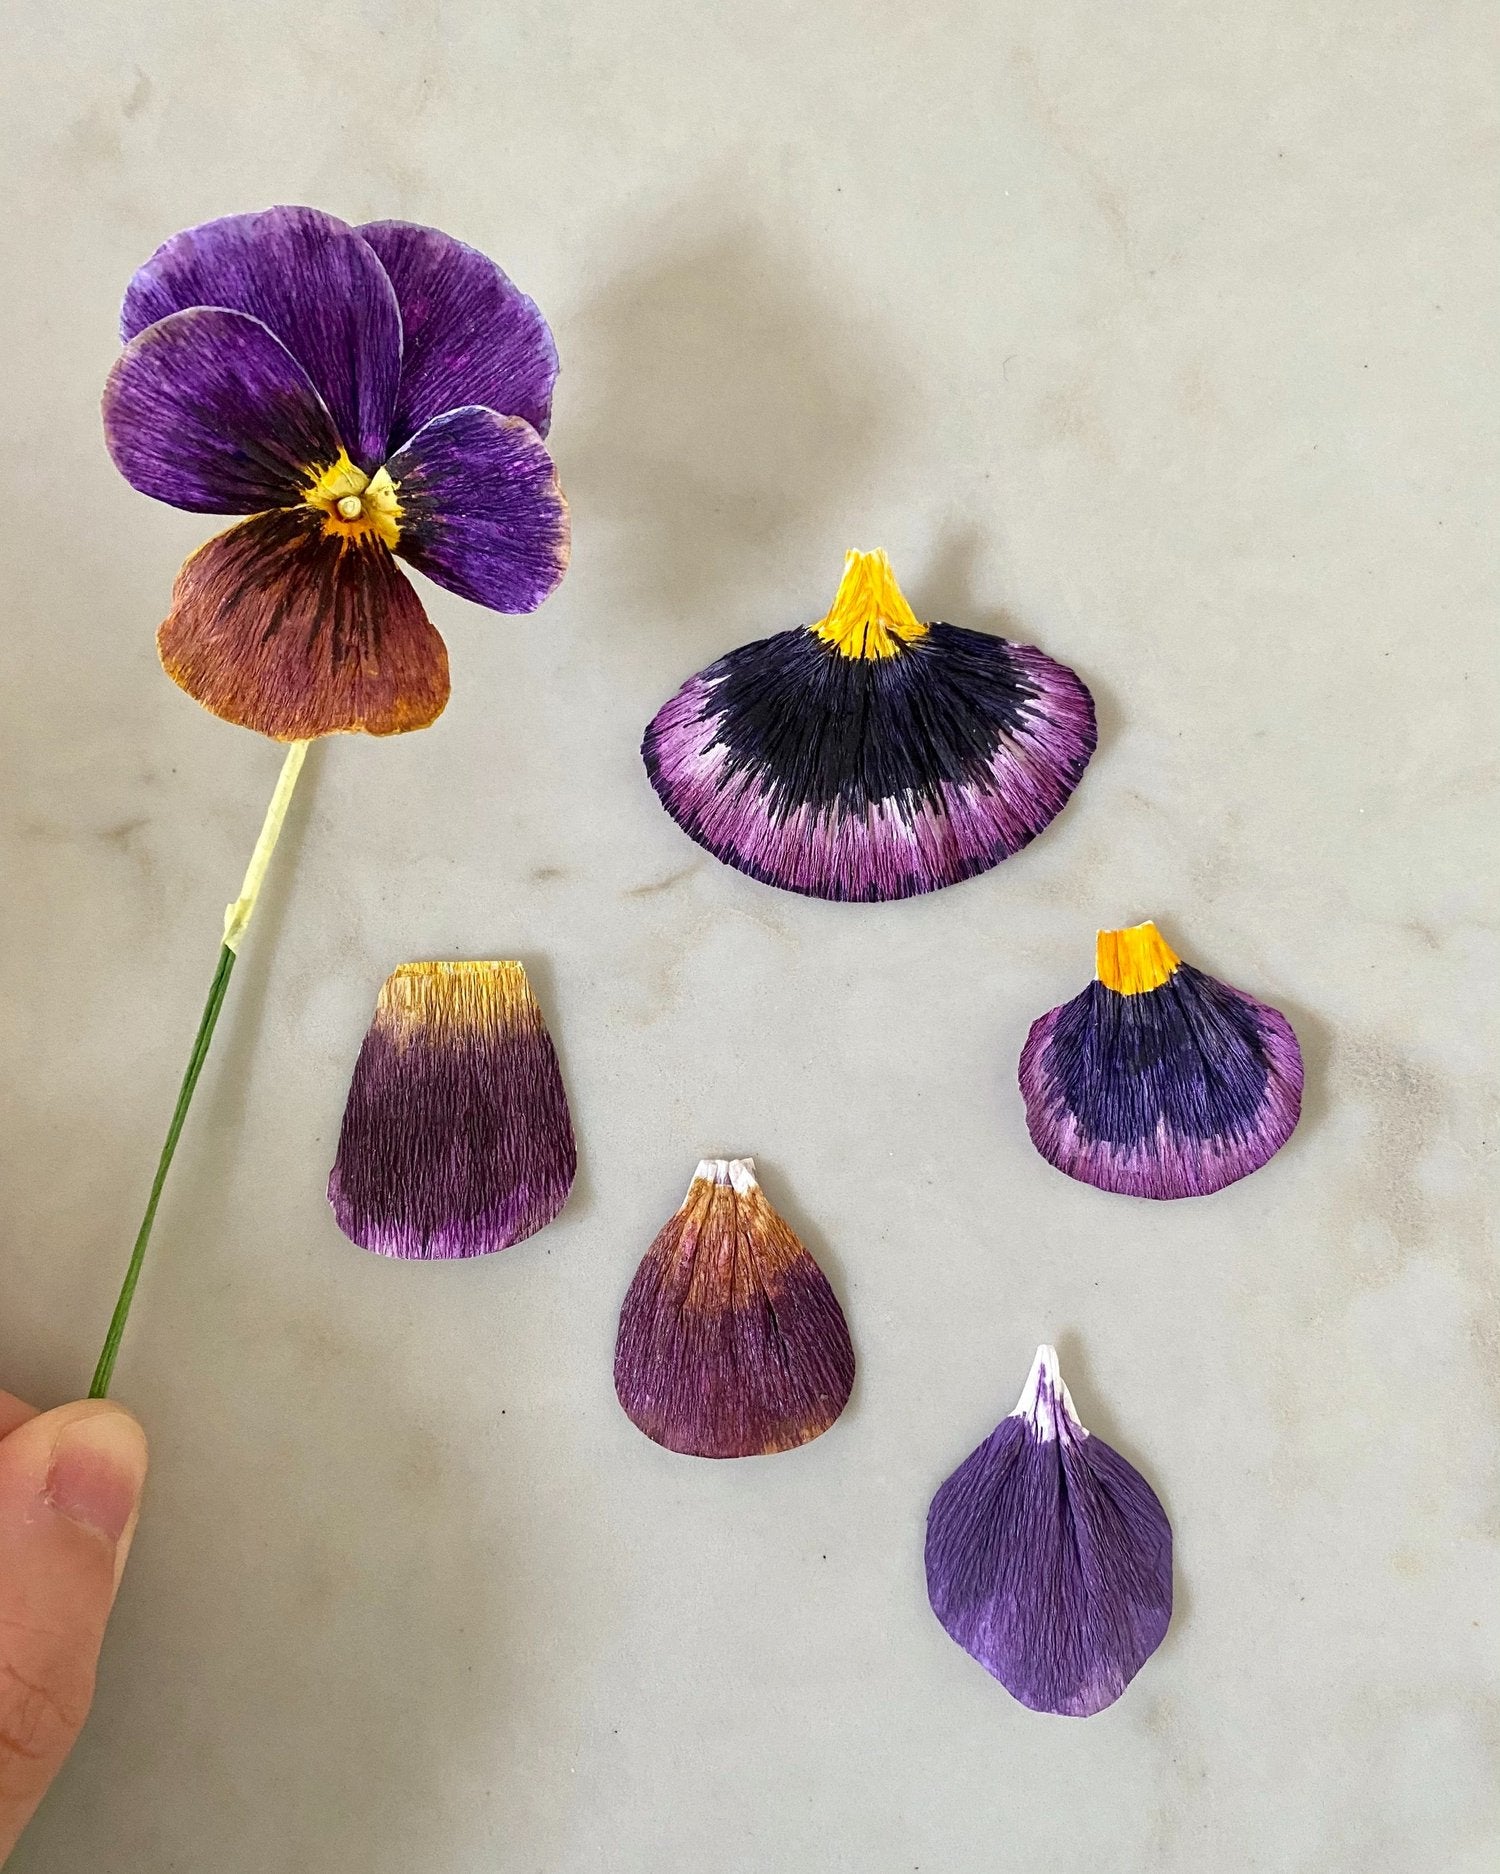
Experimenting
Once I’m happy with the form, I start to play more with colouring, exploring different colouring mediums and methods until I can achieve the ideal colour and dimension that sparks excitement in me. Usually that means finding a balance between what appears to be realistic-looking and what I consider a more “painterly” expression that presents as more abstract.
04
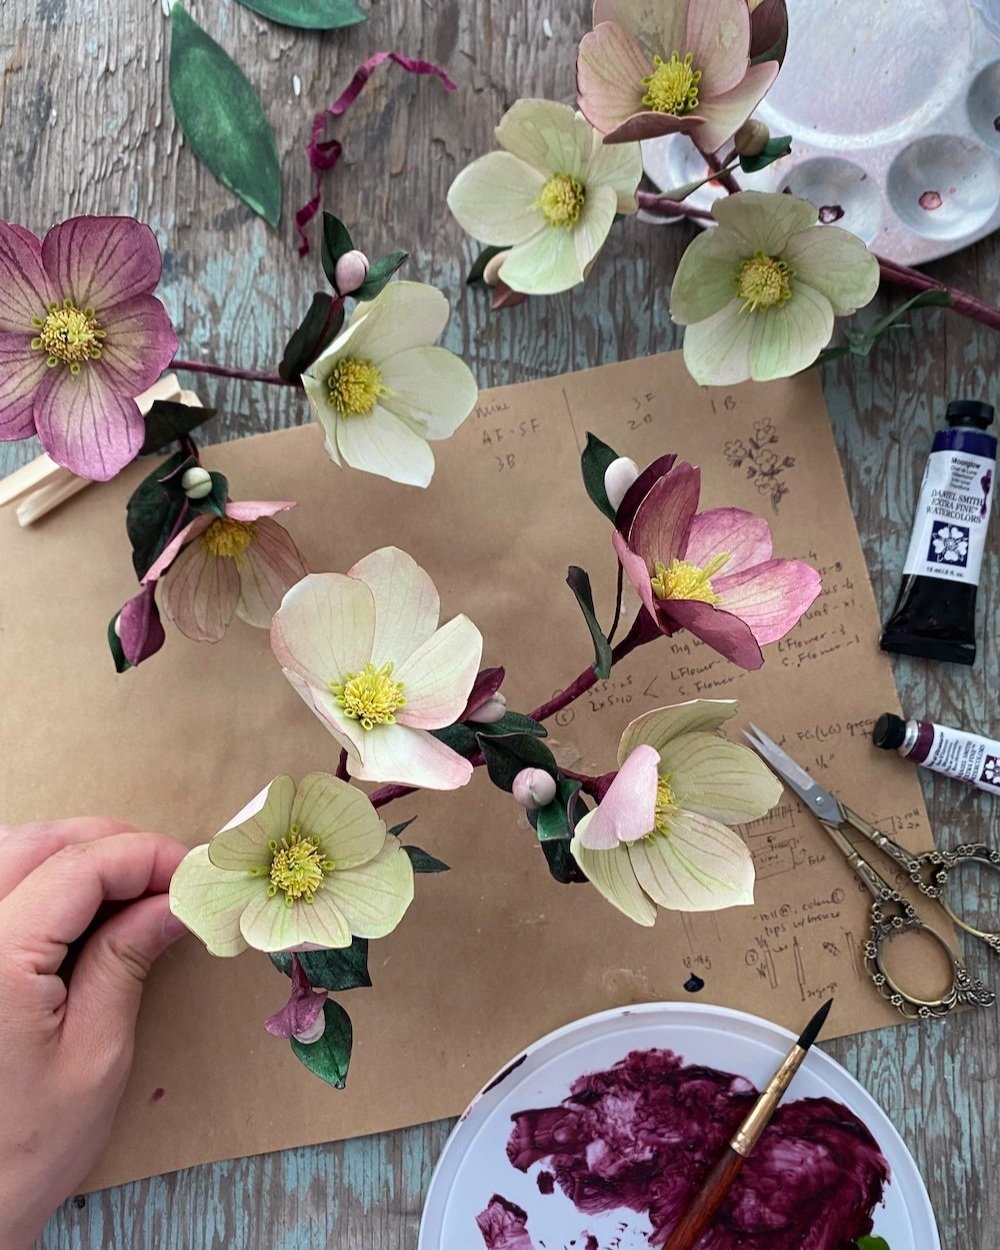
Creating
At some point, I decide I’m ready to give it all a go and put everything together. I first colour and/or dye the paper I’m using and then use that paper to make the flower in the same or similar manner as the prototype. I like to do more painting once it’s assembled to give it more dimension and to complete the details. A small pansy sculpture can take 2-4 hours while a peony sculpture can take up to 15 hours.
05
Photographing
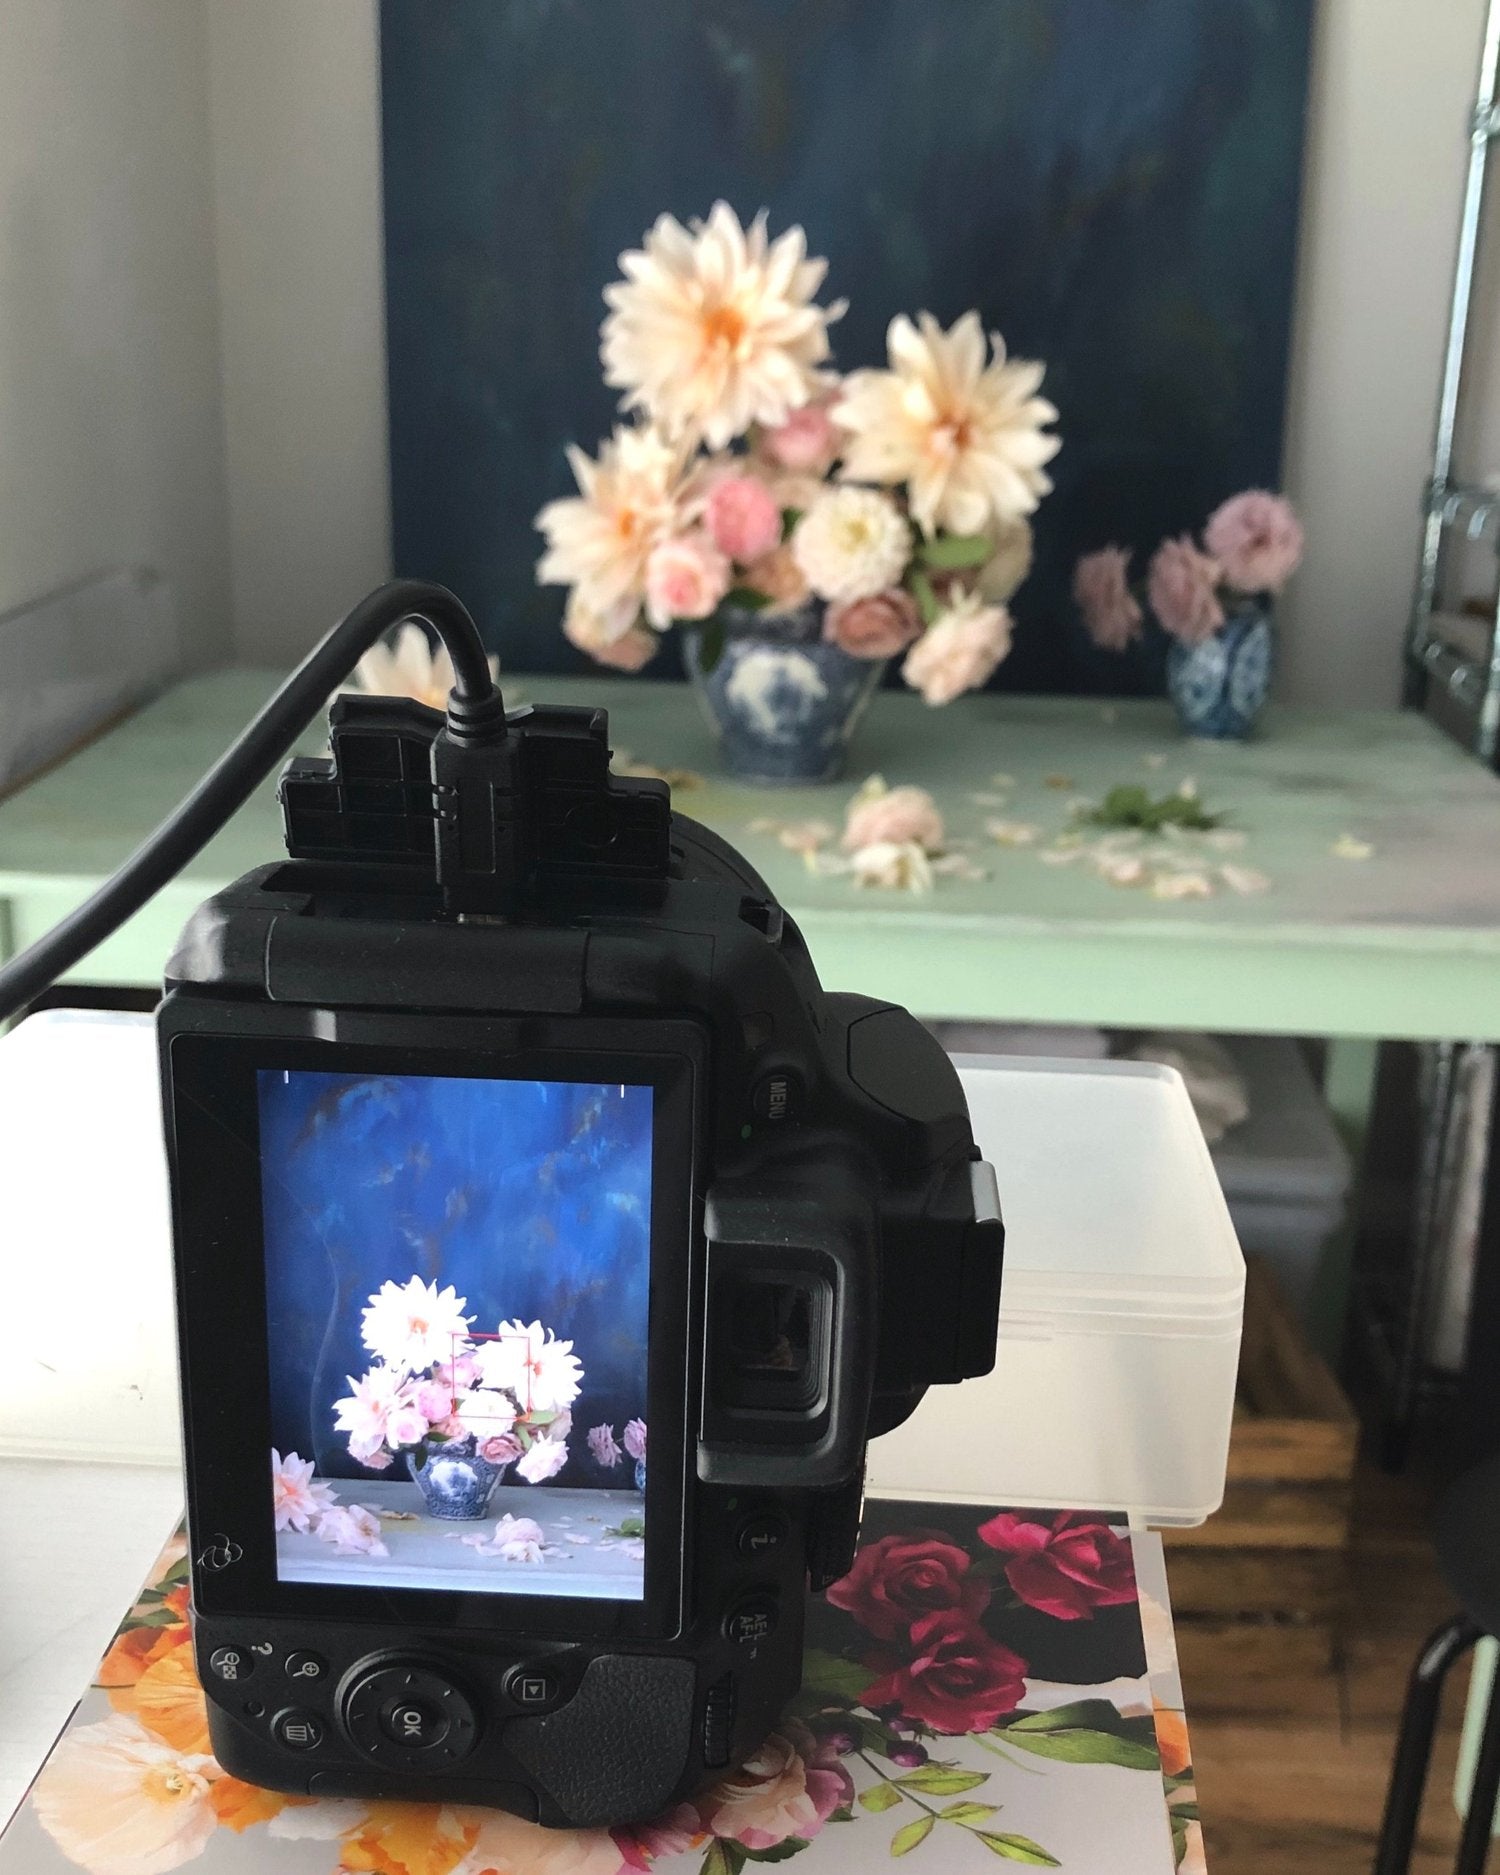
Capturing the floral sculptures in still life photography allows me to express the beauty of a piece in a more compelling way. It’s another way of expressing my awe and curiosity for florals and the natural wonders of the world, and telling a story about them within a man made environment. This is often the only way that viewers ever see my sculptures without them ever seeing the three-dimensional pieces in real life.
06
Image-Making
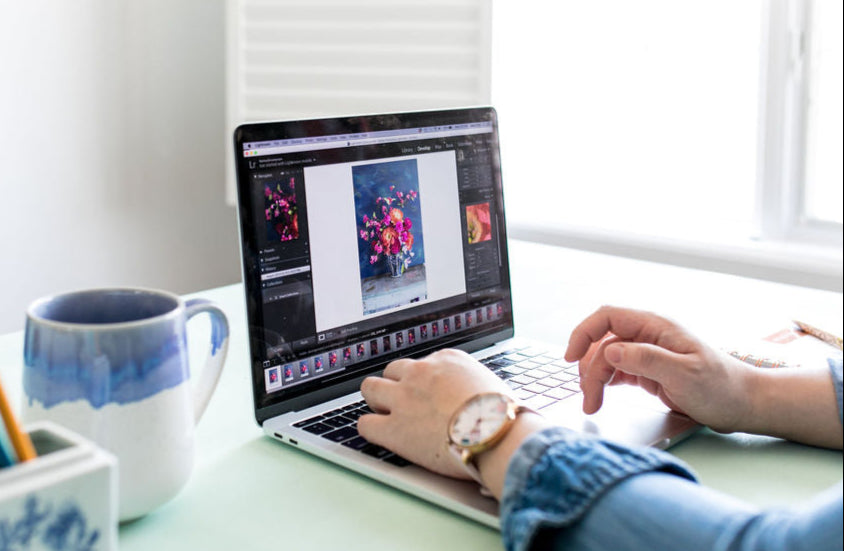
This is the step that lets me enhance the image in some way, whether it’s adding more highlights, reducing the shadows, or stitching in images of my birds and moths. Sometimes I like to manipulate my images to help me express what I want or to present the images in a unique way.
